Sunday, September 4, 2011

Baby room preview: Before and after makeover

We finished the baby room!

Here's a before and after of the new room for our little one. I love how it turned out, especially since I got everything to put it together before we moved in so it was the first time to see how it would look.

Here's the room before...
And here is what it looks like now...


I made the mobile, quilt, and rug which I think gives it a more personal touch.

It's good to be settling in and making the house our own.

Friday, September 2, 2011

Moving in and 35 weeks


We finally made the big move. At the last possible moment housing came through and I joined the hubby in Knoxville.

He happened to have inventory (a once a year event) that weekend so I managed the house during the movers coming and delivery our boxes. Lots of cleaning, little sleep, and two long days later the pets, Maddox, and I arrived. By Monday, we were moving in and painting.

It's been a whirlwind of unpacking, prepping, and preparing for baby #2. I finally hit my point of exhaustion yesterday but picked back up by this afternoon to work on refinishing our entry way wood floor and unpacking most of the garage.

I hate boxes. I hate disorganization. I hate not having the house set up. I want to focus on decorating and not unwrapping individual packed items.

By now, the little one has dropped and is sitting comfortably on my bladder and pelvis-- not so comfortably for me. It's coming down to the wire and seeing the crib all set up made it all very real, more real than it's been so far.

Is there really going to be a baby sleeping in that room? Are we really doing this again? It seems so long ago that we were at that point with Maddox.

That's all for now, but I also wanted to share this shot of Maddox getting curious while I was trying to photograph "the bump." Big brother is already trying to steal the show!


Friday, August 19, 2011

Happiness is a bargain and laundry detergent making 101


This morning on our way to run errands, I stopped at a few garage sales. At one moving sale I found my latest project-- a mirror from the 50's with a funky frame and shelves. I'd never seen anything like it before and bought it for just $10!

After a little ivory spray paint to cover the original flaking gold coat ($3.25 at Walmart), this is what it turned out like.

For a total of $13.25, I now have another fun piece for the baby's room.

My next project for the day was to try making my own laundry detergent. I'd been reading different recipes for detergent and decided the three ingredient ones were the easiest.

I mixed 2 bars of Fels Naptha soap (in the laundry aisle) by grating it with a cheese grater, 2 cups of Washing Soda, and 2 cups of Borax. I stirred it all together and stored it in a tupperware container with a small scoop.

You will have extra Borax and Washing Soda left over for the next batch and it only takes 1 Tablespoon to wash one load of laundry! In all, I believe the total was around $5 (including the generous amounts of the two ingredients left over).

Tuesday, August 16, 2011

Stencil rug = Success!

After a few failures, I'm proud to show off my new personalized rug!

Giving an old rug a facelift proved to be easier than I expected-- once I found a good dying technique. The hardest part of the project was finding a way to dye the rug so it would keep it's color. I purchased two cotton rugs last weekend from a garage sale to try this, but I think this one may have had a stain guard that kept the dye from taking easily.

To make my rug, I first soaked it in a 50/50 water and bleach solution. It didn't take long since the rug was originally an off-white. I then put it through the washer and left it slightly damp to help take the dye better.

I decided to put the dye in a plastic tub I purchased specifically for this project. It was on clearance and would save our bath tub from any unsightly staining. I then soaked the rug for about 10 minutes in one packet of gray RIT dye. After it was the color I liked, I rinsed it in the sink and put it through the wash without any soap. Unfortunately, the rug quickly went back to it's original color.

Attempt #2. I had already thrown out the RIT dye, so I decided to try a homemade dye. I looked up natural dying techniques but getting a true gray was going to be very difficult. I didn't want a red rug (using wine, grape juice, or food coloring), so I opted for a shade of brown. I brewed a strong pot of coffee, added some vinegar, and let it soak for about an hour. That didn't quite get it dark enough.

Attempt #3. So I brewed another pot of coffee, added more vinegar this time, and left it soaking overnight. In the morning, I let it dry before sending it through the rinse cycle of the washer. After it was rinsed, I hung it outdoors to dry again.

Success! I came out with the perfect shade. Once the rug had dried, I took a stencil and white fabric paint and made my design.

I love my new rug and even have the second rug (my backup since this was my first attempt) to make another.

Saturday, August 13, 2011

Babies wear suspenders

I recently came across this idea for personalizing a baby onsie by adding suspenders! The idea came from HERE and inspired me to try my hand at some of my own.

This one has my version of a bow tie.

For security, I used fabric glue and then double stitched everything. You can never be too careful with wearables that also endure multiple washes.


I'd love to try applique techniques, but need to find more information to guide my first attempt. What I like about these are that they seem more sturdy than personalized onesies with iron-on designs. Those seem to come loose fairly quickly.

If you have other ideas for making your own onsie, feel free to pass it along.

Thursday, August 11, 2011

Discipline: The dirty little word


I can still remember when caring for my son meant simply meeting his day-to-day needs. But somewhere along the way he developed something called a WILL and OPINION about every aspect of life.

Suddenly, my cherbic offspring went from following direction and being easy to passify to an entirely different little human. This child tells me where to sit, what he wants to eat, says 'no' and then changes his mind in a fit of tears, tests my direction (such as "come here", "don't touch", and "be nice to the dogs"), and sometimes decides that our errands for the day are not part of HIS agenda. Some days, the slightest bump in the road will send him spiraling into a meltdown. And yesterday for the first time, he ran in the opposite direction when I tried to steer him to the car. Fortunately, he was not in danger but could have been if we were not in Pat's yard.

And with this new trial and test of my limits comes a new descent into discipline. At home, of course, it's easier. I have two time-out spots, safety, and shelter from the prying eye of the public. And if the situation calls for it, a spatula to use for a swat.

But now that tantrums and outright disobedience is trickling into our public outings, the issue is more complicated. It's not always easy to remove my son from a public place to discipline in private, and sometimes he's crying too hard to talk to. In those times, all I can do is leave where we are and deal with it when we get to the car-- if that's an option.

I do understand that sometimes a meltdown is the result of badly needing a nap. It's every parent's challenge to find their balance between when a tired child's crankiness should be overlooked or faced head-on. I hate being that parent/child in a store that's causing a scene. But I also don't believe in giving into a bad attitude by offering candy or impulsively buying a new toy to try and quiet my unhappy little one.

I know that this is just a time we're going through, and some days I feel more or less capable of handling what he throws my way. But at least I understand that being two means coming to terms with new emotions he's experiencing and trying to find the words to express his thoughts and feelings. I know it's frustrating and I know he understands that no matter what, I love him. And at the end of the day, he's still my best buddy who says goodnight with not one but TWO hugs and a kiss.

And I know that everything will be allright.

Monday, August 8, 2011

Make-it-yourself baby mobile

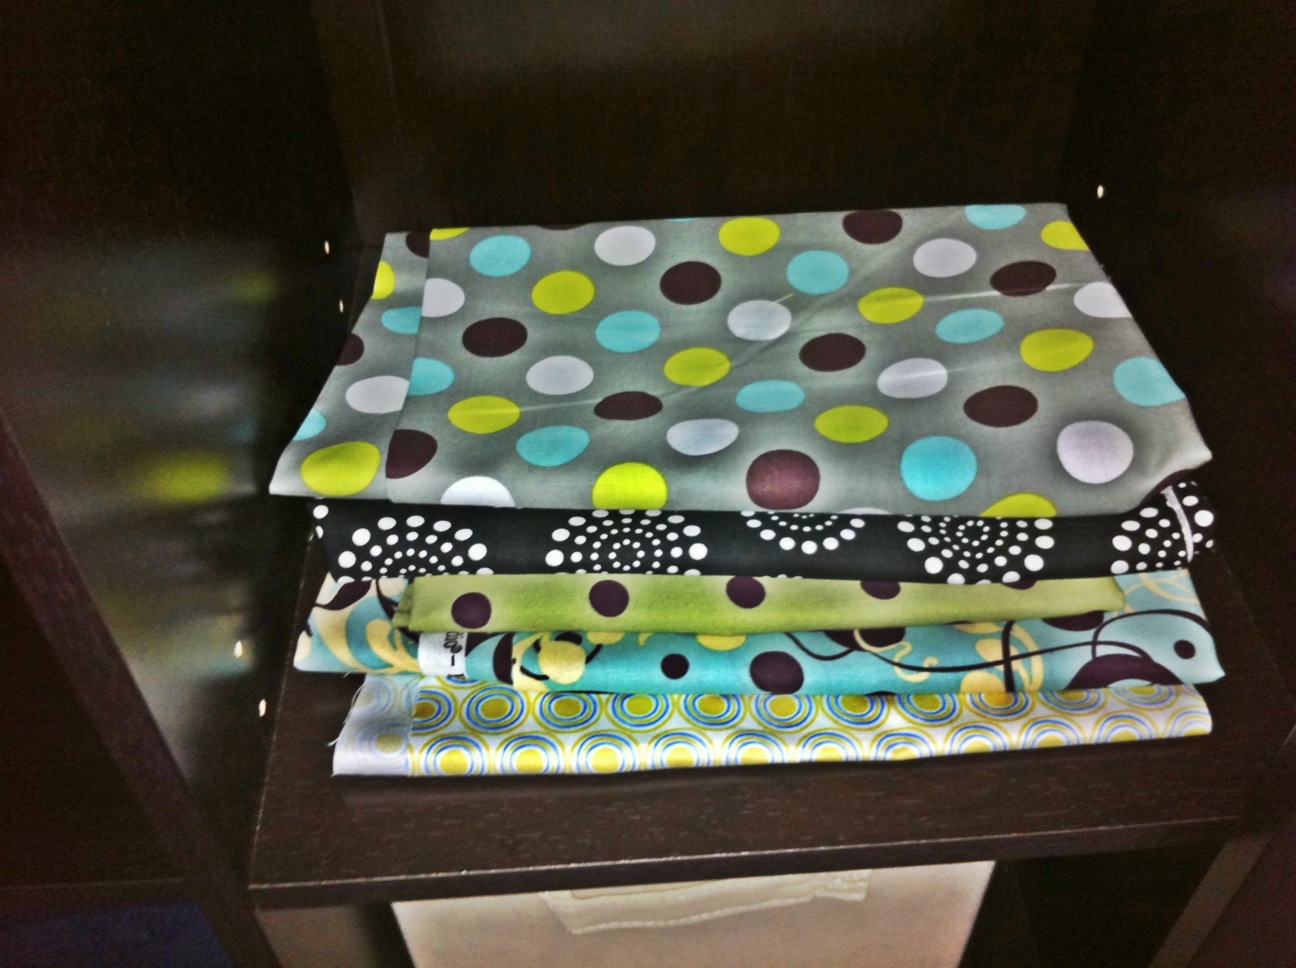
So last week I gave a little teaser by sharing the fabrics I was using for a new project. After a few test runs, I finally made a mobile for the baby's room. Here's where I got the idea.

The fun patterns certainly caught Maddox's eye and he wants to play with it!

I'm not very skilled with glue, so I sewed the hanging strands around the rim of the mobile by hand. I also added buttons on the bottom circles to help weigh it down and add a little extra cuteness. I toyed with the idea of also putting buttons around the rim of the mobile but decided it would be too much going on.
I plan to hang it up with more brown ribbon, a little chain, and a hook.